


A Complete Beginner Guide To React Router
Understand the fundamentals on routing in React in 5 minutes.


Click here to go to the github repo.
This tutorial uses React Router version 6.4.0
Introduction
Routing is the ability to move between different parts of an application when a user enters a URL or clicks an element (link, button, icon etc) within the application.
React Router is a standard library for routing in React.
It enables the navigation among views of various components in a React Application.
This popular library has three (3) variants:
react router: the core library.
react-router-dom: a variant of the core library meant to be used for web applications.
react-router-native: a variant of the core library used with react native in the development of Android and iOS applications.
Prerequisites
To run the examples in this article, be sure to have some or all of the following.
The Node runtime environment - Install Node for your operating system from the Node downloads page.
A React project: Quickly create a React project.
npx create-react-app <project-name>
How To Set Up React Router
The scope of this article is in the realm of web applications so we can safely choose react-router-dom. This library is installed in a project by running the command below in the project directory.
# Using NPM
 npm install react-router-dom

# Using Yarn
yarn add react-router-dom
Adding React Router Components
There are four (4) main components in the react router library.
BrowserRouter
It is used for applications which have a dynamic server that knows how to handle any type of URL. It is the parent component that is used to store all of the other components.
In your index.js file, import the BrowserRouter component and wrap it over your App.js component as shown below.
import React from "react";
import ReactDOM from "react-dom/client";
import { BrowserRouter as Router } from "react-router-dom";
import App from "./App";

const root = ReactDOM.createRoot(document.getElementById("root"));

root.render(
  <React.StrictMode>
    <Router>
      <App />
    </Router>
  </React.StrictMode>
);
Routes
Whenever the location changes, Routes looks through all its child routes to find the best match and renders that branch of the UI. It’s a new component introduced in React Router version 6 and an upgrade of the component.
<Routes>
    ***
    ***
    ***
</Routes>
The main advantages of Routes over Switch is...
Routes are chosen based on the best match instead of being traversed in order.
Route
It is one of the most important building blocks in the React Router package. It is the conditionally shown component that renders some UI when its path matches the current URL. It renders the appropriate user interface when the current location matches the route’s path.
The path is a prop on the Route component that describes the pathname that the route should match.
The element is a prop on the Route component that describes the Component that would be displayed when the path matches the route.
<Routes>

   <Route path='/' element={<ComponentName />} />

</Routes>
In your App.js, import Route and Routes component from your react-router-dom library package installed earlier on as shown below.
import './App.css';
import { Routes, Route, Link } from 'react-router-dom';

function App() {
  return (
    <div className="App">
      <Routes>

         <Route path='/' element={<ComponentName />} />

      </Routes>

    </div>
  );
}

export default App;
Folder Structure
In your project directory, create a folder named component inside the src folder and now add 3 files named home.js, about.js and contact.js to the component folder.
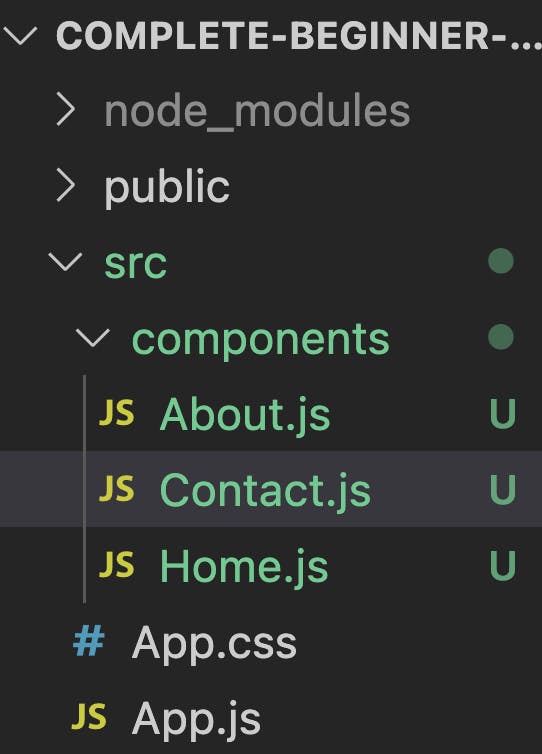
Okay... looks good already.
Let's add some content to each file we've created.
Home.js file
import React from 'react'

const Home = () => {
  return (
    <div> Welcome to the Home page</div>
  )
}

export default Home
About.js file
import React from 'react'

const About = () => {
  return (
    <div>Welcome to the About Page</div>
  )
}

export default About
Contact.js file
import React from 'react'

const Contact = () => {
  return (
    <div>Welcome to the Contact page</div>
  )
}

export default Contact
In your App.js file, import the files you just created and add the paths as shown below.
import { Route, Routes } from "react-router-dom";
import Home from './components/Home';
import About from './components/About';
import Contact from './components/Contact';

function App() {
  return (
    <div className="App">
      <Routes>
        <Route path='/' element={<Home />} />
        <Route path='/about' element={<About />} />
        <Route path='/contact' element={<Contact />} />
      </Routes>
    </div>
  );
}
Link
The react-router package also contains a component that is used to navigate the different parts of an application by way of hyperlinks. Link component uses the to prop to describe the location where the links should navigate to.
<Link to='/about'> About </Link>
It is similar to HTML’s anchor element (<a> </a>) but the main difference is that using the Link component does not reload the page but rather, changes the UI. Using an anchor tag would require that the page is reloaded in order to load the new UI. When the Link component is clicked, it also updates the URL.
Let's see how it works. In your App.js file, import add the Link component. This should link the various components to their specific routes as shown below.
import './App.css';
import { Routes, Route, Link } from 'react-router-dom'
import Home from './components/Home';
import About from './components/About';
import Contact from './components/Contact';

function App() {
  return (
    <div className="App">
      <h1> A Complete Beginners Guide To React Router</h1>

      <Link to='/'> <button> Home </button> </Link>
      <Link to='/about'> <button>About</button> </Link>
      <Link to='/contact'><button> Contact </button> </Link>

      <Routes>
        <Route path='/' element={<Home />} />
        <Route path='/about' element={<About />} />
        <Route path='/contact' element={<Contact />} />
      </Routes>

    </div>
  );
}

export default App;
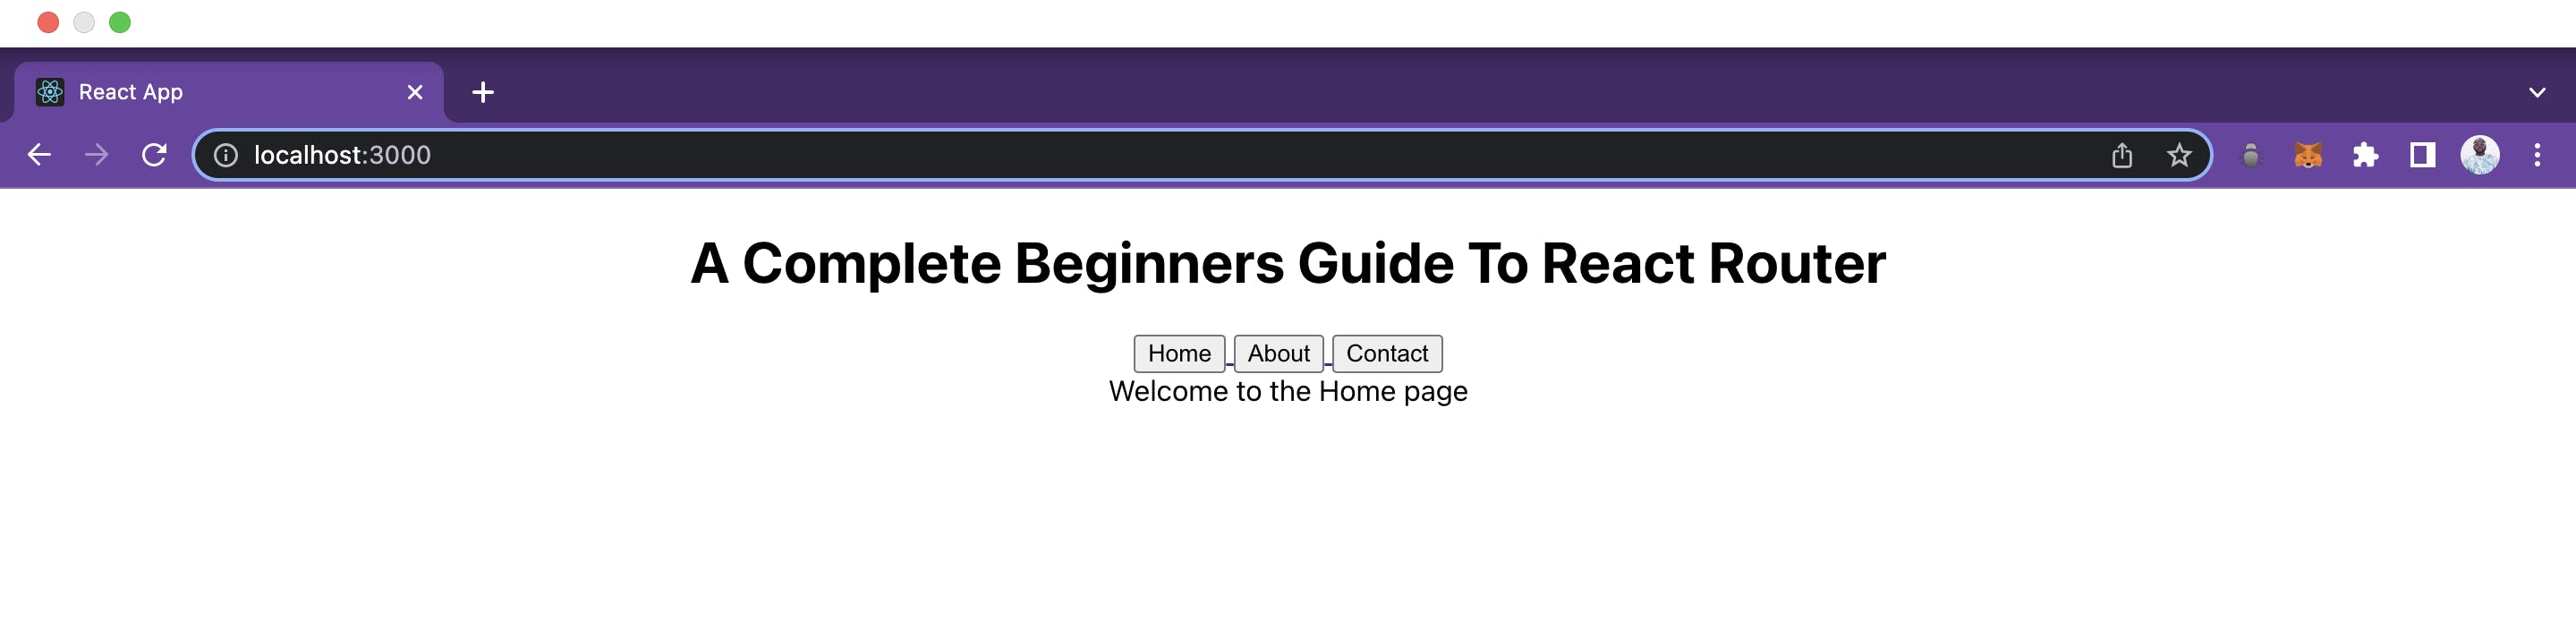
Run npm start on your terminal... You should have your app running and links to various routes as should below.
Conclusion
This brings us to the end of the article. Kudos to you if you made it this far.
React Router is an awesome library that helps us go from a single page to a multi-page application feeling with great usability. (Just keep in mind – at the end of the day, it's still a single page app(SPA)).
For reference, the complete code is present at this.. You can fork and use it.
If you would like more details about React Router, view the Documentations